
Reading Time: 4 minutes
In fine weather, one of the most enjoyable times of the day is sitting around camp and cooking the evening meal.
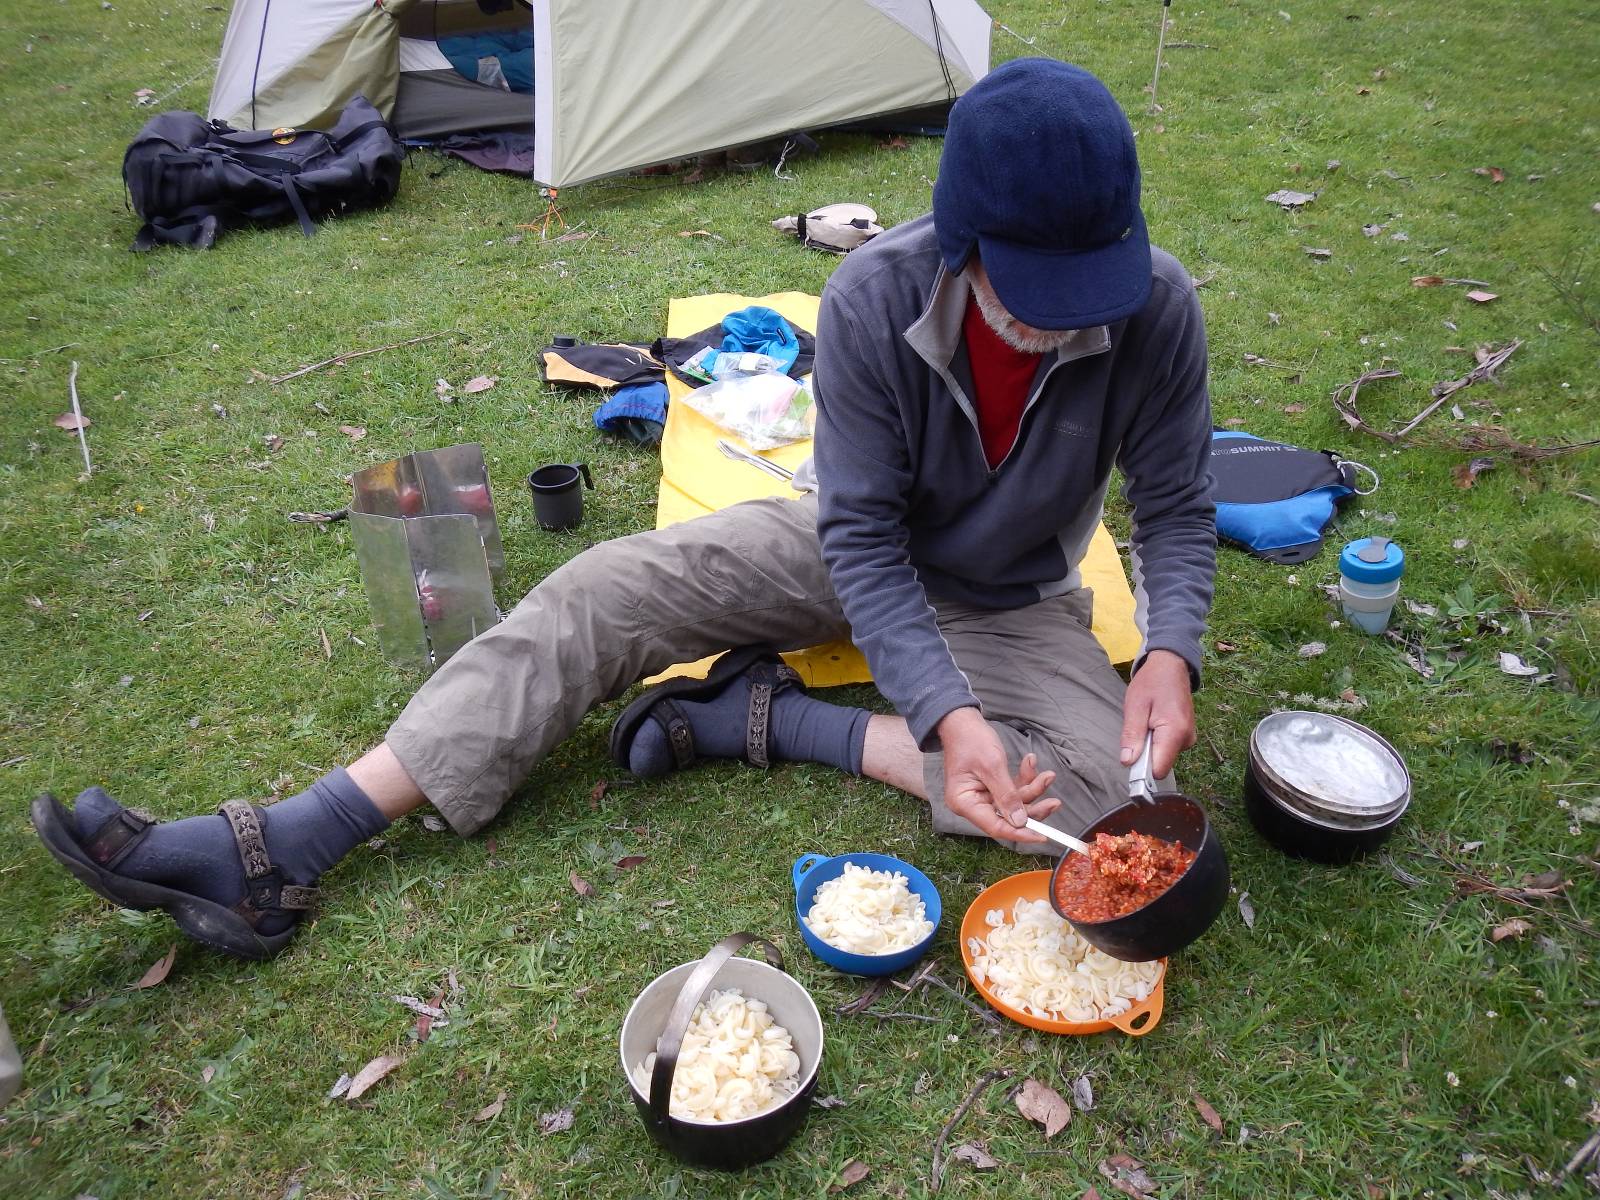
Cooking groups
Cooking groups of two or four people are common, particularly with tent pairs combining for dinner. For trips where some cooking in tents is likely, e.g. extended trips, meals should be aligned with tent pairs. Cooking as a group helps beginners learn from those with more experience.
One good option is for people to cater for their own breakfasts (that may only require hot water), lunches, snacks, drinks (e.g. tea, coffee, single-serve soups) so the only shared meals are dinners. This makes it much easier to agree on the shared trip menu. Individuals can then carry what their appetite and tastes require, but also have the enjoyment that comes with sharing some meals.
When planning to share meals on an extended trip, it may be a good idea to trial each meal on shorter trips or at home to ensure all are satisfied with the ingredients, taste, quantity and cooking complexity.
The benefits from group cooking increase on longer trips include:
- Less cooking equipment needed
- Less fuel required for cooking
- Taking turns to cook is fun and provides a break e.g. one person cooks, another washes up.
Disadvantages of group cooking, particularly for three or more people, include:
- Less accounting for different tastes
- Harder to allow for larger or smaller appetites
- Difficulties of preparation and cooking in adverse weather – activities may be extended across different tents
- Need to have larger billies.
Fuel requirements
Specifications on boil times of stoves provided by manufacturers are measured in ideal conditions. The amount of fuel actually required on a trip will vary with:
- Number of people
- Stove type and efficiency
- Number of times water is boiled for drinks or to add to meals e.g. freeze-dried
- Cooking times of evening meals, how much simmering is required
- Whether cooked breakfasts or boil ups at lunchtime are included e.g. porridge
- Wind, temperature and elevation
- Melting snow for water
- Boiling water to sterilise it.
The easiest way to estimate fuel needs is to take a full gas canister or liquid fuel bottle on a weekend trip, note the cooking time of meals and assess what fuel is left after the trip. Fuel use estimates can be progressively improved by noting the fuel used on several trips.
The amount of fuel needed can then be calculated for extended trips, also taking into account the conditions expected on that trip, e.g. particularly cold or windy.
Carry some extra fuel to avoid running out. The quantity of extra fuel depends on the nature and length of the trip.
For detailed methods for assessing fuel needs see References and external links at the bottom of this page.
Fuel economy
Tips to maximise fuel efficiency:
- Use the billy that best matches the amount of water being heated. A large billy heating a small amount of water will lose a lot of heat from the large metal surfaces; an empty billy acts as a giant cooling fin.
- Cook efficiently, e.g. have pouch meals open and ready, pre-soak meals that require simmering, rotate billies to cook two pots at once.
- Use a lid on the billy or pot and resist frequent checking to see if the water is boiling. To check, use billy grips to touch the lid to feel vibrations or wait until steam is visible.
- Have the billy ready before lighting the stove. Do not leave a stove burning with nothing on it.
- Adjust the flame to suit the size of the billy and style of cooking.
- Shake a gas cylinder before use and keep it warm (body temperature) to get the most out of it. In cold conditions, wrapping hands around the cylinder can improve gas flow.
- Adjust a pressure stove to have a blue flame as a yellow flame is inefficient and makes more soot which can block the jet.
- Use a windshield only if the stove is designed for it.
- Avoid using a stove in exposed or windy conditions.
- Insulate the stove from cold ground or snow to minimise heat loss – a small square of plywood or cork is ideal.
Cooking when snow camping
It is essential to carry sufficient fuel if needing to melt snow for cooking and drinking, as a lot of heat is required. It takes as much energy to melt snow to water as it does to then boil it. Melting snow for water approximately doubles fuel consumption.
To melt snow more quickly and prevent melted snow tasting burnt, first add some water to the billy, then add the snow otherwise the areas of the billy where the snow isn’t touching will scorch.
A small snow wall can easily be made to protect the stove from wind. This will help improve stove efficiency.
Use a piece of plywood or cork mat under the stove to provide insulation and stop it melting into the snow.
Washing up
Washing and cleaning up is important when out in the bush using the same utensils over and over again, especially for an extended trip. Bacteria can multiply easily and the consequences can be serious.
- Washing up needs to be done after the meal, not left until morning.
- Leaving dirty billies and plates out may attract local wildlife that should not eat it.
- Carry a washing up kit including a scourer, stored in a ziplock bag.
- Scrape utensils before washing up, and use water as hot as hands can bear.
- Gravel or snow can scour most dishes quite well without soap or detergent.
- Never wash dishes directly in a watercourse. Dispose of washing water well away from camping and water gathering areas.
See also
References and external links
- How Much Stove Fuel Do I Need for a Backpacking Trip? – REI
- Fuel Usage – Bushwalking New South Wales